Work Samples:


www.anthropologie.com/www.URBN.com
This spring I was fortunate enough to have the opportunity to work as visual display intern at the anthropologie retail store in wayne, PA (February 24 - May 2). I arrived just in time to help finish up the remaining Spring displays and the transition into the summer aesthetics. Each Anthropologie has a woodshed/workshop incorporated into the back of each store and the wayne store has one of the biggest workshops available in the district. The workshop is where we make the objects/decorations that will be used on display and includes a miter saw, router and various other types of shop equipment. The shop can get pretty full when my coworkers and I are all in there at once. I work under the supervision and guidance of the visual display coordinator at the Wayne store, Sammi and work alongside my coworker, Caili Fogarty, who is a full time visual display artist/Sales associate at the store. Her website and work can be found at http://cailifogarty.weebly.com
Below are some images of the shop:


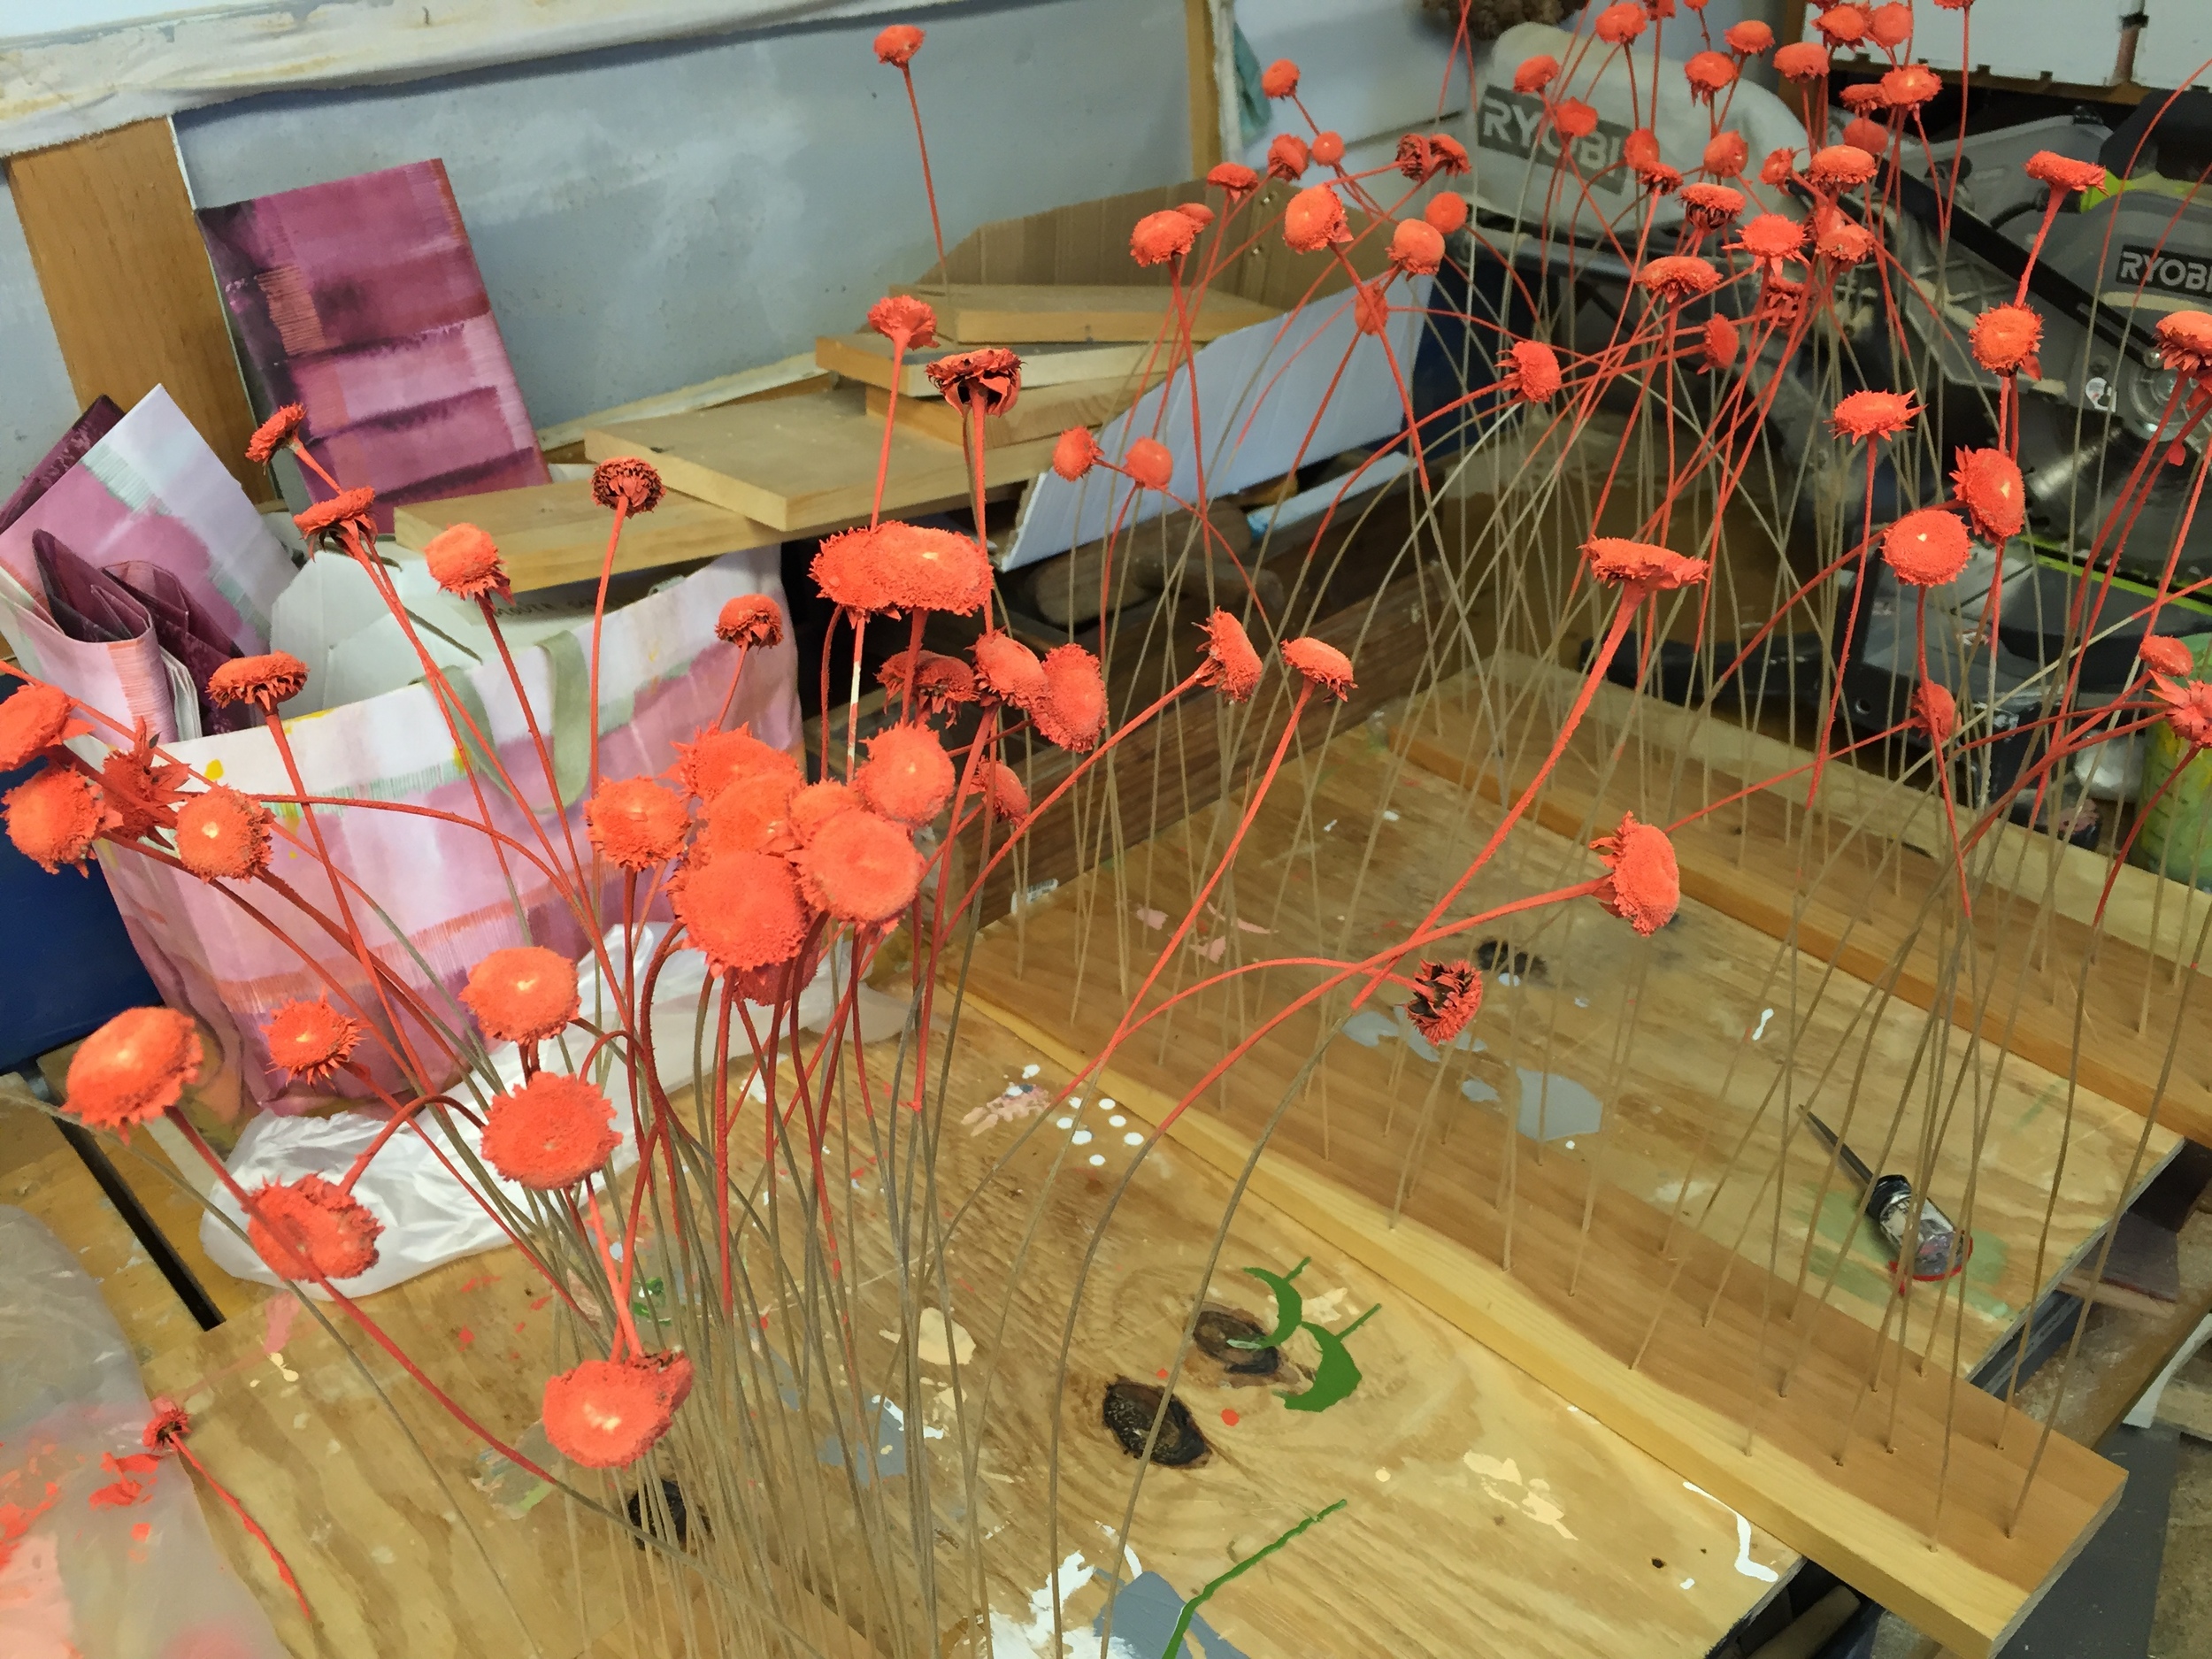
Upon the start date of my internship I was asked to paint the tips of the pod flowers display a coral/red color, put them back into their wood blocks and arrange them on display. The process took a few hours due to the amount of flowers but I was able to have the display finished a few hours before the end of my day.
Below are some images of the pod flowers Display:


The first big project I was given was to make handmade radishes for the pantry display section. I started by making a radish shape out of newsprint paper and scotch tape. I would wrap the newsprint in tape until I was able to shape it like a radish and repeated the process until I had made just about over 100. The next part of the process called for creating the Radish leaves using a Die cutting press. After cutting out hundreds of leaves, I then attached them to wire to give them a more dimensional shape and spray painted them green. Once all the basic pieces were assembled, we attached the leaves to the tops of the tape and paper radishes and dunked them in plaster to color them. The final step was the paint them to give them life. The whole project took about 2 weeks to finish but the radishes were a huge success.
Below are some images of the Radish process:


The final radish display was set around the pantry section with multiple display sections. Some were "potted" in planners and others were set out in cheery bowls for our customers to view!
Below are images of the final Radish display:


Between the radishes and my second and final big project at my internship I spent most of my time assisting Sammi and Caili; assisting her build other store display, window display, water plants and clean the shop.
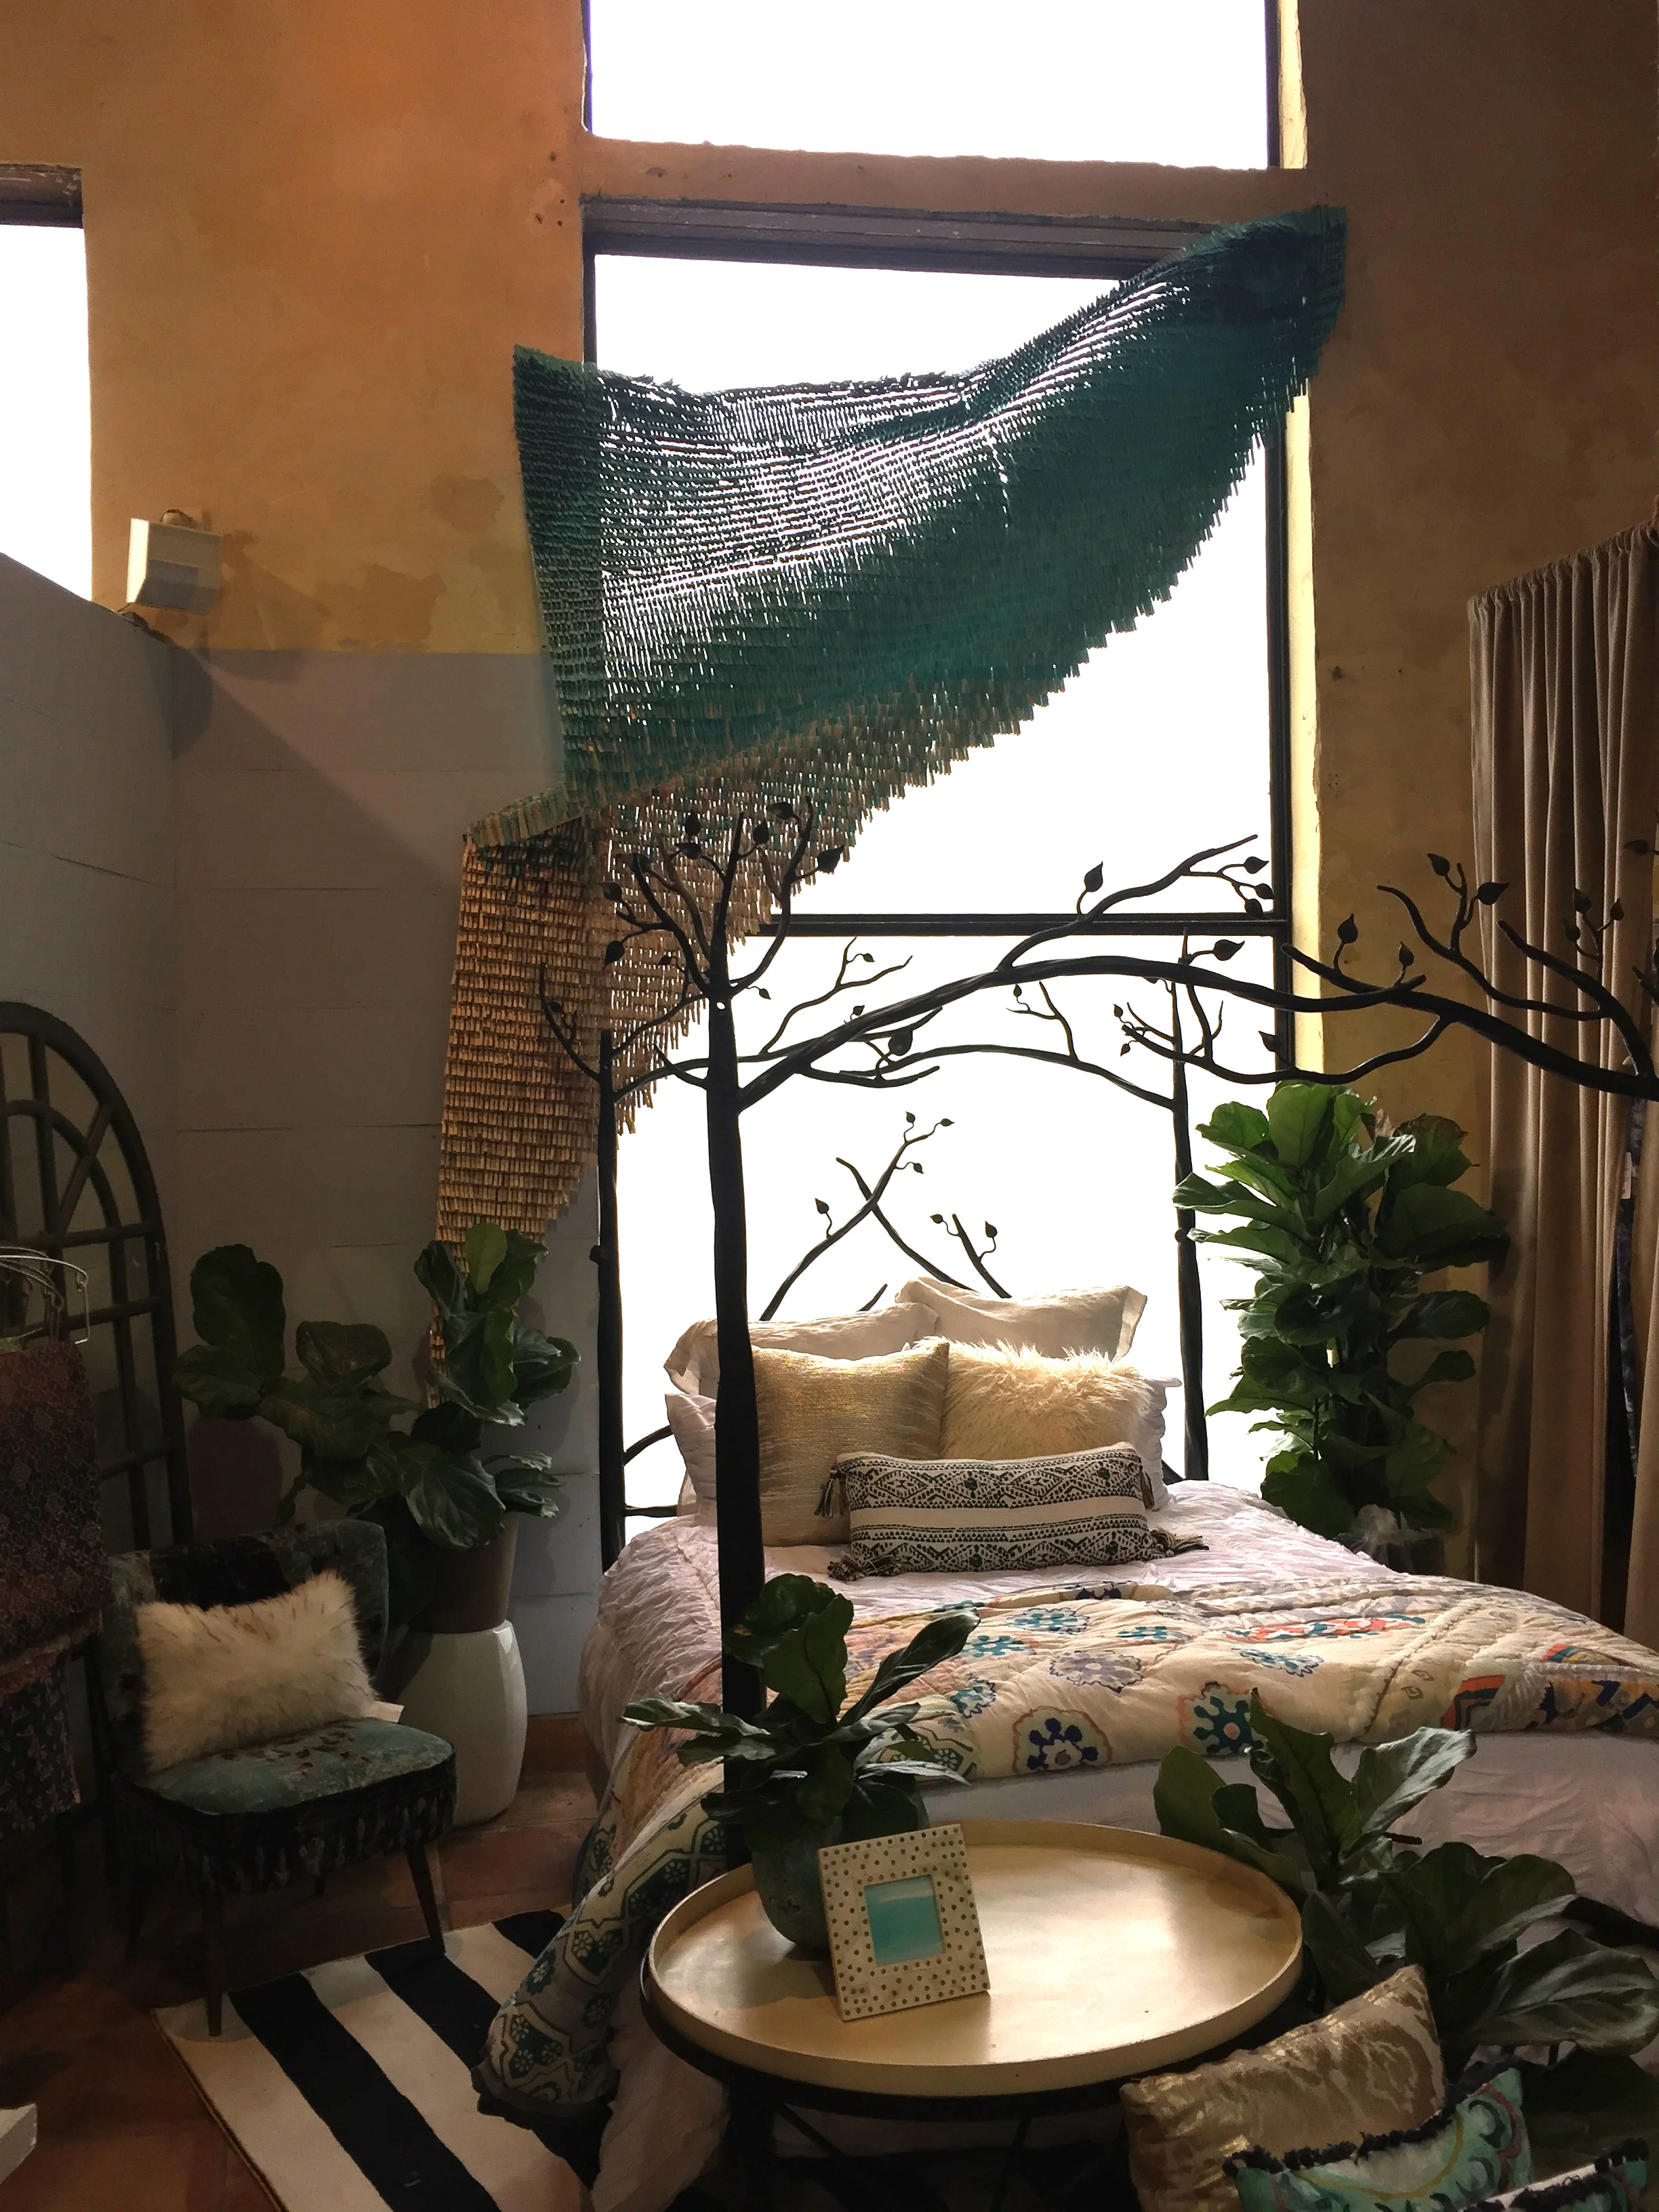
My second big project took up the rest of my time at Anthropologie. We were instructed to create a curtain-like structure out of ombre-turquoise clothespins. My boss put me in charge of the entire project from start to Finish. First I had to make a small color sampling so we could gauge the washes needed to make a successful ombre effect. Once I put together a successful sample, I had to do the math to calculate how man clothespins it would take to create the entire structure, the number came to 6,230 clothespins. From there we were sent the amount of clothespins needed and I was able to start dying them all appropriate colors. I had to evenly separate the clothespins into neutral, light, medium and Dark was he amounts, about 1500 clothespins each. Then I had to dye them all. We used Bear house paint, I had to mix the washes and dunk the clothespins in the lighter washes and set them out to dry. The darkest wash has to be very saturated so I had to hand-paint all 1500 clothespins.
Once all the clothespins were prepared, sammi and I used deer-netting to create the curtain and then hung all the clothespins from it. Unfortunately, when we were only 2 rows away from the top with over 6000 clothespins already on the deer-netting it broke. I then had to remove all the clothespins from the broken netting, resort them into appropriate washes and start over, this time using industrial cloth which was much sturdier. The process took over a month from prep to initiation to final result. The display actually came out better the second time around anyway, so it was well worth the labor!
Below are some images of the clothespin process and Final display: